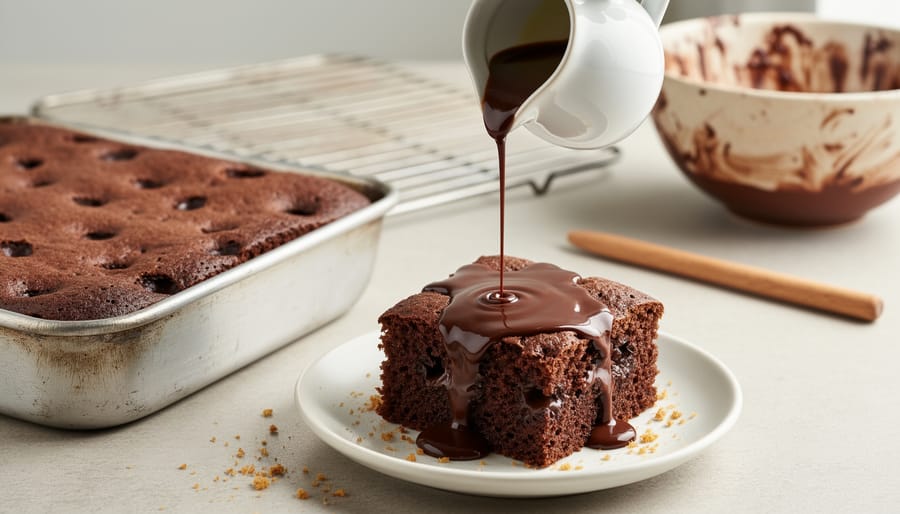
Transform a standard cake mix into a decadent chocolate pudding cake by mixing instant chocolate pudding powder directly into your batter before baking. This single addition creates the signature moist, dense crumb that makes pudding cakes irresistible. Pour warm cake straight from the oven, then let it absorb a mixture of sweetened condensed milk and chocolate syrup poked through with a wooden skewer, creating those coveted gooey pockets throughout.
Swap half the vegetable oil in your cake mix recipe with Greek yogurt to boost protein content while maintaining moisture, making this indulgent dessert fit more comfortably into a balanced eating approach. The Greek yogurt addition reduces overall fat without sacrificing the rich, pudding-like texture you’re craving.
Use room temperature ingredients exclusively. Cold eggs and milk prevent proper emulsification, leading to dense, uneven texture instead of the light, pudding-soaked consistency that defines this dessert. Set your ingredients out thirty minutes before mixing to achieve consistent results every time.
This simplified method delivers bakery-quality results without complicated techniques or specialty equipment. Whether you’re managing a busy schedule or simply want reliable chocolate satisfaction, this cake mix shortcut proves that convenience and deliciousness can coexist in your kitchen.
Why This Cake Mix Version Changes Everything
Let’s be honest—life gets busy, and sometimes you want homemade dessert without the stress of measuring eight different ingredients or worrying if your proportions are off. That’s exactly where this cake mix version becomes your kitchen ally.
Using a cake mix as your foundation cuts your active prep time down to about 10 minutes. Instead of sifting flour, measuring leavening agents, and hoping your ratios are correct, you’re starting with a tested base that delivers consistent results every single time. This isn’t about taking shortcuts—it’s about working smarter.
From an economic meal planning perspective, cake mixes often cost less than purchasing all the individual dry ingredients separately, especially if you’re not a frequent baker. You’ll also reduce food waste since you’re not buying large quantities of specialty items that might sit unused in your pantry.
The beauty of this approach is how it fits into a balanced lifestyle. When you can create a delicious, comforting dessert in less time with less stress, you’re more likely to enjoy the process rather than viewing it as a chore. This leaves you energy for other wellness practices, whether that’s meal prepping nutritious dinners or simply having time to unwind.
The results speak for themselves—that signature moist, pudding-like texture with a perfectly tender crumb that rivals any bakery creation. You’ll get professional-quality outcomes without culinary school training, making this recipe accessible whether you’re a confident baker or just starting your kitchen journey.
Ingredients You’ll Need
Creating this decadent chocolate pudding cake is surprisingly simple when you start with a cake mix. The beauty of this recipe lies in its straightforward approach—no fancy equipment or hard-to-find ingredients required. Let’s break down everything you’ll need to create this crowd-pleasing dessert.
The foundation starts with a standard chocolate cake mix (about 15-18 ounces), which provides the structure and rich chocolate flavor. You’ll also need one package of instant chocolate pudding mix (3.9 ounces), which creates that signature moist, gooey layer that makes this cake so irresistible. Beyond these two key players, you’ll gather four eggs, one cup of vegetable oil, and one cup of water to bring everything together. For extra richness, include one cup of sour cream and two cups of semi-sweet chocolate chips.
| Ingredient | Quantity | Substitution Options |
|---|---|---|
| Chocolate cake mix | 1 box (15-18 oz) | Gluten-free cake mix |
| Eggs | 4 large | Flax eggs (1 tbsp ground flax + 3 tbsp water per egg) |
| Sour cream | 1 cup | Coconut cream, dairy-free yogurt |
| Vegetable oil | 1 cup | Melted coconut oil, avocado oil |
| Chocolate chips | 2 cups | Dairy-free chocolate chips, cacao nibs |
For those managing dietary restrictions, this recipe adapts beautifully. Replace dairy milk with almond, oat, or coconut milk in equal measurements. Flax eggs work wonderfully as an egg substitute—simply mix one tablespoon of ground flaxseed with three tablespoons of water per egg and let sit for five minutes until gel-like. Coconut cream makes an excellent sour cream alternative, providing similar richness without dairy. These simple swaps ensure everyone can enjoy this comforting treat while maintaining their wellness goals and dietary needs.
Step-by-Step Instructions
Preparing Your Batter
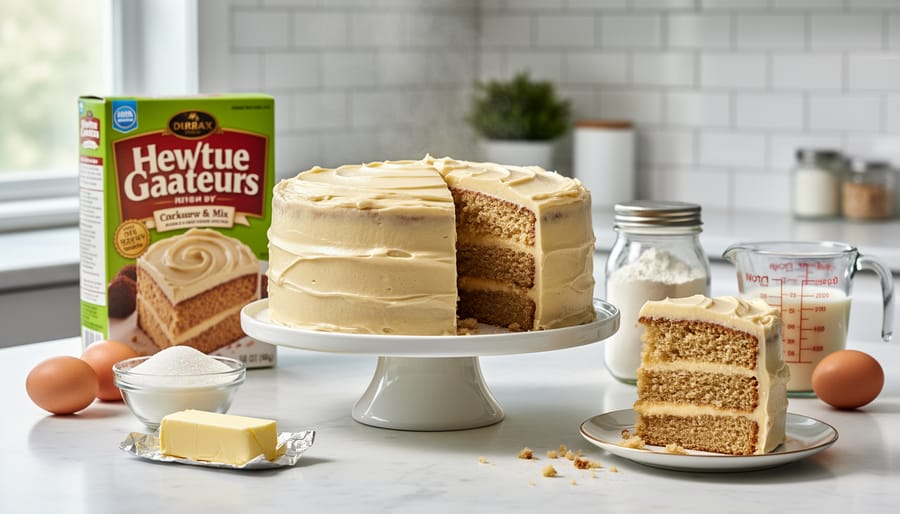
Start by preheating your oven to 350°F and lightly greasing your baking dish. In a large mixing bowl, combine your chocolate cake mix with eggs, water, and oil as directed on the package. Here’s where the magic happens: mix just until the ingredients are incorporated and no dry streaks remain, typically about 30-45 seconds with a wooden spoon or electric mixer on low speed.
Overmixing is the enemy of tender cake, so resist the urge to achieve a perfectly smooth batter. Those tiny lumps will disappear during baking, and you’ll preserve that wonderful moist texture we’re after. The consistency should be pourable but not runny, similar to thick pancake batter.
Next, gently fold in your instant pudding mix. This clever addition creates that signature gooey pudding layer while adding extra richness. Pour the batter into your prepared pan, spreading it evenly with a spatula.
For those exploring budget-friendly wellness treats, this straightforward method means you’re using economical pantry staples while still creating something special. The beauty of this recipe lies in its simplicity: fewer steps mean less stress and more time to enjoy the baking experience. Think of this as an approachable indulgence that fits perfectly into a balanced lifestyle, where treating yourself mindfully is part of overall wellness.
The Pudding Layer Magic
Here’s where the real magic happens—and it might feel counterintuitive at first. After spreading your chocolate cake batter into the pan, you’ll sprinkle a mixture of cocoa and sugar over the top, then pour hot water or freshly brewed coffee directly over everything. Yes, you read that correctly! This technique might seem unusual, but it’s the secret behind that dreamy pudding layer.
The science behind this approach is beautifully simple. As the cake bakes, the batter rises to form a tender cake top, while the liquid sinks to the bottom, dissolving the cocoa-sugar mixture and transforming into a rich, fudgy pudding sauce. Using hot coffee instead of water adds depth and amplifies the chocolate flavor without making it taste like coffee—a budget-friendly trick that elevates the entire dessert. This economical ingredient swap costs pennies but delivers gourmet results.
The key is trust. When you slide that pan into the oven, it will look like a messy, soupy situation. But through the heat and steam, the layers separate naturally, creating that signature contrast between fluffy cake and silky pudding underneath. It’s a forgiving technique that works beautifully every time, making this recipe perfect for both beginners and experienced bakers seeking convenience without compromising on that indulgent, comforting experience.
Baking and Doneness Cues
Preheat your oven to 350°F (175°C), which is the sweet spot for achieving that signature moist texture without over-baking the pudding layer beneath. If you’re using a convection oven, reduce the temperature to 325°F (165°C) since the fan circulation creates more efficient heat distribution.
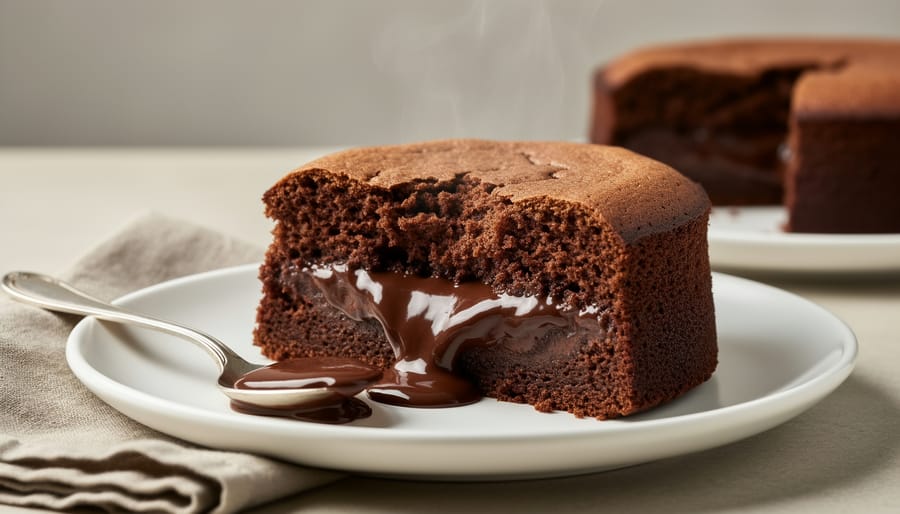
Pour your batter into a greased 9×13-inch pan and bake for 40-45 minutes. Here’s where patience pays off: you’re looking for a unique doneness indicator. The top should appear set with a slight jiggle in the center when you gently shake the pan. Unlike traditional cakes, you want some movement, as this signals the pudding layer has formed underneath.
Insert a toothpick about one inch from the edge rather than the center. It should come out with moist crumbs, not completely clean. The edges will pull slightly away from the pan and develop a beautiful crackly top.
If your oven runs hot, check five minutes early to prevent over-baking, which can dry out that coveted pudding layer. Dark pans absorb more heat, so consider reducing the temperature by 25°F to prevent burning the edges while the center finishes cooking. Let the cake rest for 10-15 minutes before serving to allow the pudding layer to settle into its gloriously gooey texture.
Making It Your Own: Flavor Variations
One of the beautiful things about this chocolate pudding cake is how easily it welcomes your personal touch. Start with simple tweaks that transform the flavor profile without complicating the process.
For coffee lovers, add one to two tablespoons of instant espresso powder to the cake batter. This deepens the chocolate flavor remarkably, creating a sophisticated richness that adult palates will appreciate. The caffeine content remains minimal, making it suitable for most gatherings.
Experiment with pudding flavors beyond traditional chocolate. Try butterscotch pudding for a sweet, caramel-like undertone, or vanilla pudding for a gentler contrast that lets the chocolate cake shine. White chocolate pudding creates an especially decadent variation that’s perfect for special occasions.
Fold in a cup of dark chocolate chips or chopped chocolate bars before baking for pockets of melted goodness throughout. This adds texture variation while boosting the chocolate intensity. For a more mindful approach to sweetness, consider using 70% dark chocolate chips, which offer antioxidant benefits alongside rich flavor.
A quarter teaspoon of cinnamon adds warmth and complexity, complementing chocolate beautifully while supporting healthy blood sugar balance. Similarly, a pinch of sea salt enhances all the flavors while reducing the need for excessive sweetness.
Budget-conscious bakers can swap premium ingredients without sacrificing results. Store-brand cake mixes and pudding work just as well, and frozen berries stirred into the batter before baking add moisture, natural sweetness, and nutrients at minimal cost. These simple modifications let you create a dessert that reflects your taste preferences while maintaining the recipe’s foolproof simplicity.
Serving Suggestions That Elevate the Experience
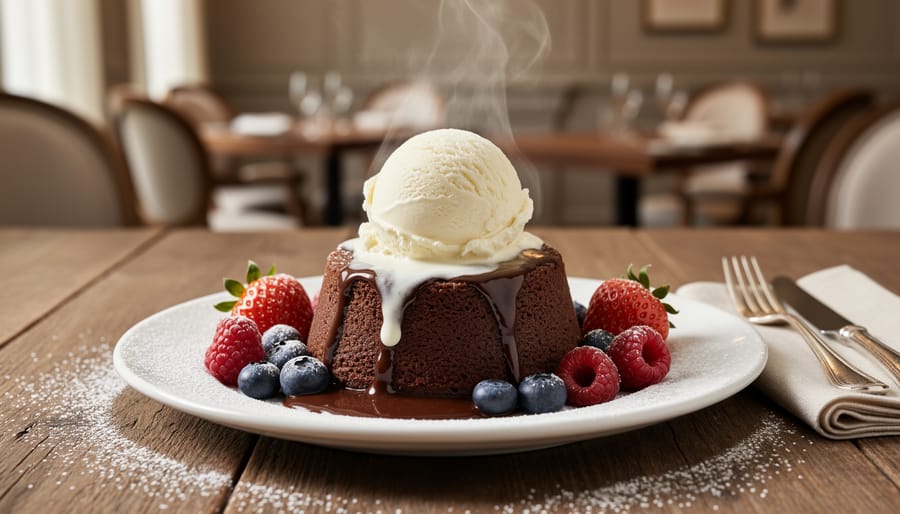
The beauty of chocolate pudding cake lies not just in its preparation, but in how you present it at the table. Serving this dessert warm creates the most magical experience—the pudding layer becomes extra silky, and the cake stays wonderfully tender. For a classic pairing that never disappoints, top each portion with a scoop of vanilla ice cream. As it melts into the warm chocolate pudding, you’ll create an impromptu hot fudge sundae effect that’s utterly irresistible.
Fresh berries offer a lighter touch while adding nutritional value to your indulgence. Raspberries, strawberries, or blackberries provide natural sweetness and a pop of color that makes each serving Instagram-worthy. The tartness also balances the rich chocolate beautifully. For those mindful of portion control, consider serving in individual ramekins or small dessert glasses—this restaurant-inspired approach helps with mindful eating while elevating the presentation.
Whipped cream remains a beloved topping, and you can lighten it by using coconut cream as a dairy-free alternative. A simple dusting of powdered sugar adds elegance without extra calories, while a sprinkle of sea salt flakes can enhance the chocolate’s depth. Remember, even indulgent treats have their place in a balanced lifestyle when enjoyed consciously and presented with care.
Fitting Dessert Into Your Wellness Journey
Let’s be honest: chocolate pudding cake isn’t exactly a superfood. But here’s the thing—wellness isn’t about perfection or rigid restriction. It’s about finding a sustainable balance that nourishes both your body and your spirit. This decadent dessert absolutely has a place in a healthy lifestyle when enjoyed mindfully.
The key is portion control. Instead of serving yourself a massive slice, try a modest portion and really savor it. Notice the rich chocolate flavor, the contrast between the tender cake and silky pudding layer, and the warmth that makes each bite feel like a comfort hug. When you eat slowly and attentively, smaller portions become surprisingly satisfying.
Planning ahead also helps. If you know you’re treating yourself to chocolate pudding cake for dessert, you might choose lighter, nutrient-dense meals throughout the day. Load up on vegetables, lean proteins, and whole grains earlier, so you can fully enjoy your treat without any nagging feelings.
Consider sharing this recipe with friends or family. Not only does it make the experience more joyful, but it naturally controls portions—you’re less likely to overindulge when the cake is divided among several people. You could even explore incorporating wellness-focused ingredients like CBD oil into your daily routine to support overall balance, making room for occasional indulgences feel even more aligned with your health goals.
Remember, treating yourself isn’t falling off track—it’s part of the journey.
Storage and Make-Ahead Tips
Store your chocolate pudding cake covered in the refrigerator for up to 4 days, though it tastes best within the first two days when the pudding layer remains perfectly gooey. The texture naturally firms up slightly over time, but a quick 15-second microwave zap per slice restores that warm, comforting consistency beautifully.
For freezing, portion individual slices and wrap them tightly in plastic wrap, then aluminum foil. They’ll keep for up to 2 months. Thaw overnight in the fridge and reheat gently before serving. This approach supports smart economic meal planning—bake once on Sunday, and you’ve got satisfying desserts portioned throughout the week. Consider this strategy for other treats too, reducing food waste while keeping something special on hand.
Room temperature storage isn’t recommended due to the pudding component, which needs refrigeration for food safety. If you’re planning to serve this cake at gatherings, you can prepare it a day ahead. The flavors actually meld wonderfully overnight, creating an even richer chocolate experience. Just remember to let refrigerated slices warm slightly before serving for the best texture and taste. This make-ahead flexibility means less stress when entertaining and more time enjoying good company.
This chocolate pudding cake proves that creating memorable desserts doesn’t require culinary school training or an entire afternoon in the kitchen. With just a few pantry staples and about ten minutes of prep time, you’ll have a decadent treat that brings genuine smiles to the table. Remember, wellness isn’t about denying yourself pleasure—it’s about finding balance and creating moments of joy with the people you care about. This simple recipe delivers exactly that: connection, satisfaction, and the kind of comforting sweetness that turns an ordinary weeknight into something special. Whether you’re hosting friends, celebrating a small victory, or simply treating yourself after a long day, this cake has your back. Give it a try at your next gathering and watch how something so easy can create such warm, lasting memories.