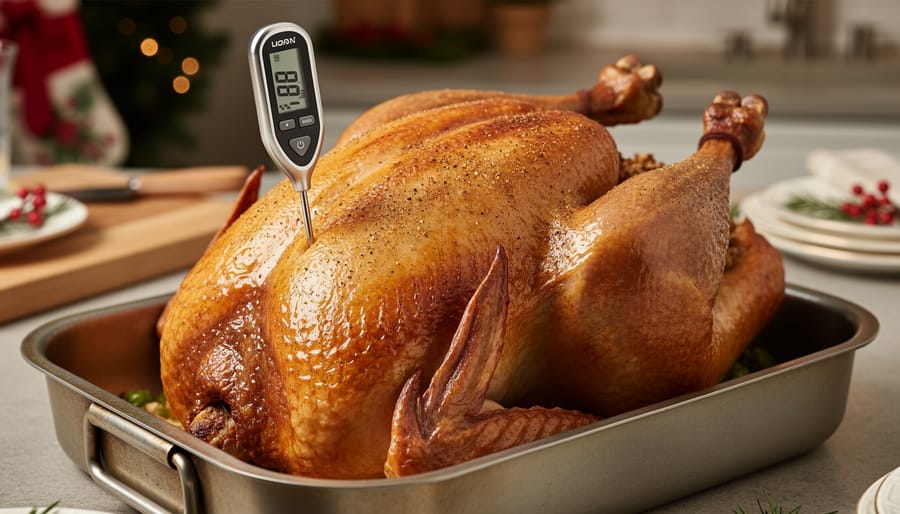
Cooking a perfect turkey requires an oven temperature of 350°F and approximately 13-15 minutes per pound for an unstuffed bird, with a final internal temperature of 165°F in the thickest part of the breast and thigh to ensure both safety and ideal texture. These aren’t arbitrary numbers. They represent the sweet spot between food safety science and culinary tradition, delivering juicy meat while eliminating harmful bacteria that can cause foodborne illness.
Getting turkey right matters beyond just the centerpiece moment at your holiday table. A properly cooked bird forms the foundation for economical meal planning, since those leftovers will fuel sandwiches, soups, and grain bowls for days afterward. The difference between a dry, overcooked turkey and one that’s tender and flavorful often comes down to monitoring temperature rather than relying on timing alone.
The reality is that most home cooks either undercook poultry (risking illness) or overcook it (sacrificing flavor and texture), because they’re guessing instead of measuring. A reliable food thermometer transforms turkey from stressful gamble into straightforward technique. The process itself is surprisingly simple once you understand the relationship between weight, heat, and safe consumption thresholds, and you’ll discover that precision cooking doesn’t require professional training or expensive equipment.
What You’ll Need to Cook Your Turkey Safely
You can’t cook a turkey safely without the right equipment. These tools ensure your turkey reaches 165°F throughout, the only way to know it’s safe to eat.
- Digital instant-read food thermometer: Your most critical tool for verifying doneness and preventing foodborne illness; analog thermometers are less accurate and slower
- Roasting pan with rack: Elevates the turkey so heat circulates evenly and fat drips away, preventing soggy skin
- Aluminum foil: Protects breast meat from over-browning and helps retain heat during the resting period
- Oven mitts and kitchen towels: Heavy-duty protection for handling a hot, 12-20 pound bird safely
- Sharp carving knife: Makes clean cuts through cooked meat without tearing
The food thermometer isn’t optional. Visual cues like “clear juices” or “golden skin” don’t guarantee safety, only an accurate temperature reading does. A decent digital instant-read thermometer costs $15-30 and eliminates guesswork entirely. Insert it into the thickest part of the thigh without touching bone, then check the breast and any stuffing. All areas must hit 165°F.
Optional items can improve presentation but won’t affect safety. A basting brush lets you add herb-infused oils or pan drippings for flavor. Kitchen twine truss the legs for even cooking and a tidier appearance. A bulb baster works if you prefer that method, though basting doesn’t dramatically change moisture levels, proper temperature control does.
Critical Safety Guidelines Before You Start
Before you slide your turkey into the oven, a few safety steps deserve your full attention. Food safety isn’t just about avoiding illness, it’s the foundation of healthy eating and ensures your hard work results in a meal your family can enjoy with complete confidence.
Start with proper thawing. Your turkey must be completely thawed before cooking begins. A frozen or partially frozen bird won’t cook evenly, leaving cold pockets that never reach safe temperatures. The safest method is refrigerator thawing: plan 24 hours for every 4-5 pounds of turkey. For a 16-pound bird, that’s four days in your fridge at 40°F or below. If you’re short on time, you can thaw turkey safely in cold water, changing the water every 30 minutes, but never leave it on the counter.
Here’s a counterintuitive truth: never wash your raw turkey. Research confirms that washing raw turkey spreads germs across your sink, countertops, and anything nearby through splash and spray. Cooking to the correct temperature kills bacteria, rinsing just spreads contamination.
Cross-contamination prevention is equally critical. Designate separate cutting boards and utensils for raw turkey, and wash your hands with soap for at least 20 seconds after handling it. Any surface the raw bird touches needs thorough cleaning with hot, soapy water before it contacts ready-to-eat foods.
Step-by-Step: Roasting Your Turkey to Perfection
Preparing and Positioning the Turkey
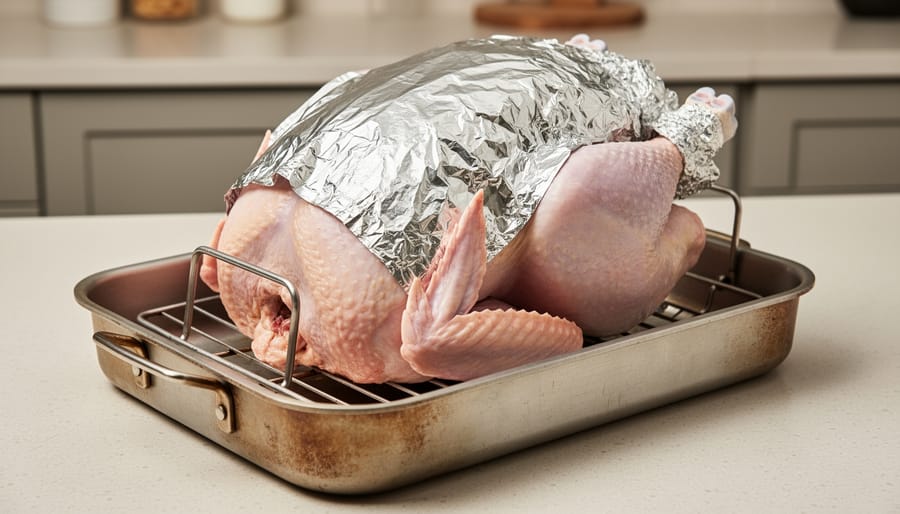
Remove the giblet packet and neck from the turkey’s cavities, check both the main cavity and the smaller neck cavity. Pat the turkey completely dry with paper towels, inside and out. This step matters because moisture on the skin prevents proper browning and crisping.
For seasoning, consider fresh herbs like rosemary, thyme, and sage rubbed under and over the skin. These bring flavor without the saturated fat load of butter-based preparations. A light coating of olive oil helps with browning while aligning with wellness-focused cooking. Season generously with salt and pepper.
Place the turkey breast-side up on a rack inside your roasting pan. The rack allows hot air to circulate underneath, promoting even cooking, the same principle that helps keep it juicy when cooking any poultry. Position the turkey with legs pointing toward the back of your oven, where heat tends to be more intense.
Preheat your oven to 350°F (177°C) before the turkey goes in. Starting with a properly heated oven ensures consistent cooking from the start.
Setting Time and Temperature
The standard cooking time for an unstuffed turkey is 13 to 15 minutes per pound at 350°F (177°C). This guideline gives you a reliable starting point, though the thermometer, not the clock, tells you when the bird is truly done.
Here’s how the math works for common turkey sizes:
A 12-pound turkey needs approximately 2.6 to 3 hours (156 to 180 minutes total). For a 15-pound bird, plan for 3.25 to 3.75 hours. A larger 20-pound turkey requires roughly 4.3 to 5 hours in the oven.
These calculations assume your turkey is completely thawed and unstuffed. Stuffed turkeys require significantly longer cooking times and raise food safety concerns, so this guide focuses exclusively on unstuffed birds. If you’re planning to stuff your turkey, you’ll need different timing guidelines and additional temperature checks inside the stuffing itself.
Start checking the internal temperature about 30 minutes before your calculated time ends. Ovens vary, and factors like whether your turkey is room temperature or fridge-cold when it goes in the oven affect timing. The 165°F internal temperature remains your non-negotiable target regardless of cooking duration.
Monitoring and Testing for Doneness
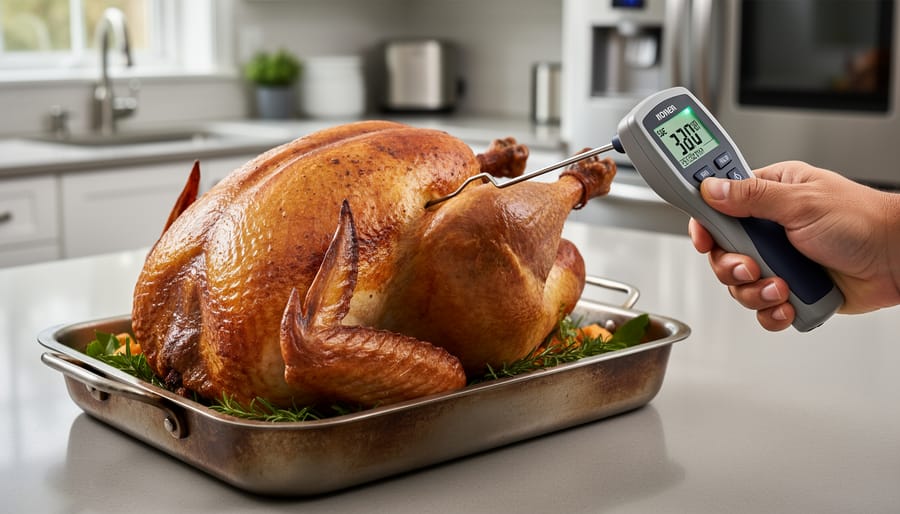
Insert your food thermometer into the thickest part of the thigh, angling toward the body but not touching the bone, bone conducts heat and gives a false reading. The thermometer should register 165°F (74°C) for safe consumption. Don’t stop there. Check the thickest part of the breast and the innermost part of the wing as well. If you’ve stuffed your turkey, the center of the stuffing must also reach 165°F.
Temperature is your only reliable indicator of doneness. Visual cues like clear juices or a drumstick that moves easily in its socket suggest the turkey is close, but they’re secondary checks at best. Some turkeys release clear juices before reaching safe temperature, while others show pink juices even when fully cooked. The meat may look done when it isn’t, or appear slightly pink near the bone even at 165°F due to a harmless reaction in young birds.
Check multiple spots. Dark meat often takes longer than white meat, so the thigh reading matters most. Once every location hits 165°F, your turkey is safe and ready to rest.
Resting Your Turkey
Once your turkey hits 165°F, resist the urge to carve immediately. Let it rest for 20 to 30 minutes, loosely tented with aluminum foil. This resting period allows the juices to redistribute throughout the meat rather than spilling onto the cutting board, ensuring moist, flavorful slices in every serving.
During this time, the turkey’s internal temperature may rise another 5 to 10 degrees through carryover cooking. This is completely normal and safe. The meat continues cooking from residual heat even after leaving the oven, which is why pulling it at exactly 165°F works perfectly.
Use these 20 to 30 minutes strategically. Finish your side dishes, set the table, or prepare your gravy using the pan drippings. This built-in pause transforms potential kitchen chaos into organized meal planning, especially valuable when coordinating a multi-dish holiday spread.
From a wellness perspective, this resting step maximizes both flavor and nutrition. You’ve invested time cooking the turkey safely, so don’t shortcut the final phase. Proper resting delivers better texture and taste, making your turkey the centerpiece it deserves to be while you calmly complete the rest of your meal.
How to Know Your Turkey Is Done (and What to Do Next)
Your turkey is safely cooked when a food thermometer reads 165°F (74°C) in three spots: the thickest part of the thigh (without touching bone), the thickest part of the breast, and the center of any stuffing if you’ve used it. Check all three areas because different parts cook at different rates. If any spot reads below 165°F, return the turkey to the oven and check again every 15 minutes until all areas reach the safe temperature.
If the breast is cooking faster than the thighs (common with larger birds), tent just the breast area loosely with aluminum foil to slow browning while the darker meat catches up. The foil reflects heat, giving the thighs extra time without overcooking the leaner breast meat.
Once your turkey reaches 165°F everywhere, remove it from the oven and let it rest 20-30 minutes before carving. This resting period allows juices to redistribute, making carving easier and keeping the meat moist. Carve against the grain in thin, even slices for the best texture.
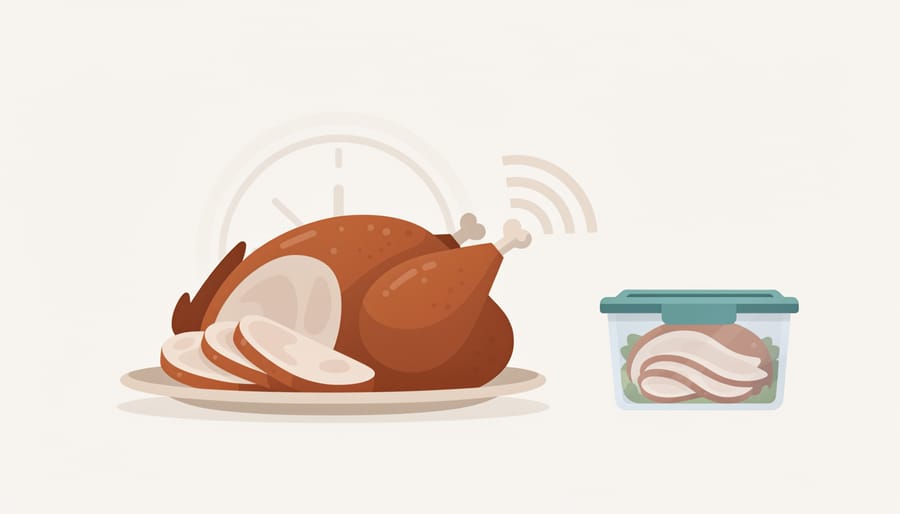
Store leftovers within two hours of cooking to prevent bacterial growth. Refrigerate carved turkey in shallow, covered containers where it’ll keep safely for three to four days. This is where economic meal planning shines: leftover turkey becomes the protein foundation for healthy budget meals throughout the week, from turkey and vegetable stir-fries to protein-packed salads. When you consider the cost of healthy eating a single properly cooked turkey can deliver nutritious meals for days, making it one of the most practical protein investments for wellness-focused home cooks.
Your Turkey Cooking Questions Answered
Here are the answers to questions readers ask most when cooking turkey.
Do I need to baste my turkey?
Basting is optional and doesn’t significantly affect moisture. Opening the oven repeatedly to baste actually lengthens cooking time and can dry out the bird.
Can I cook turkey at a different temperature?
Yes, but cooking times will vary. While 350°F (177°C) is the standard recommendation that delivers consistent results, higher temperatures cook faster but risk drying out the meat, while lower temperatures extend cooking time considerably.
How do I keep turkey moist?
Don’t overcook it. Use a food thermometer to pull the bird at exactly 165°F (74°C), then let it rest 20-30 minutes before carving. Overcooking dries out turkey more than any other factor.
What if I don’t have a meat thermometer?
Invest in one for safety, digital instant-read thermometers cost around $15-30, making them accessible for economic meal planning. Without one, you’re guessing, and guessing risks either undercooked poultry or an overcooked, dry bird.
Turkey fits beautifully into wellness-focused eating plans when you approach it right. The white meat provides lean protein, while dark meat offers additional nutrients like iron and zinc. Roast your turkey using herbs and minimal added fat instead of butter-heavy preparations, then use the leftovers throughout the week for protein-rich salads, grain bowls, and soups. This stretches your budget while supporting nutritional goals, turning one properly cooked bird into several balanced meals.